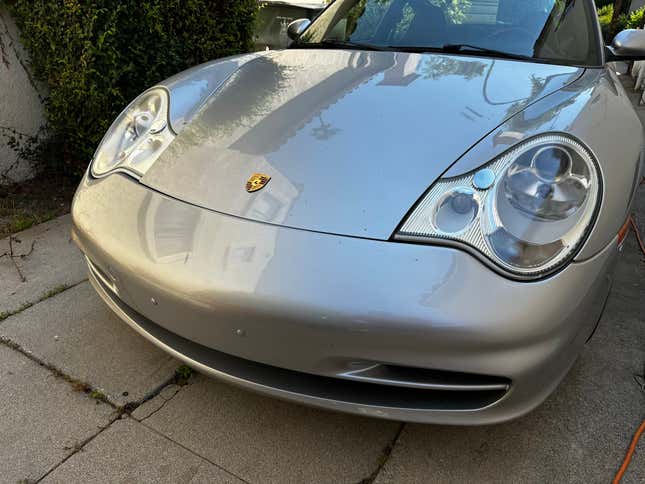
I swear, it seems like any time I bring up liking the 996-generation 911, the first thing anyone ever mentions is the headlights. The second is the IMS bearing, the third is bore scoring, but the first is definitely the headlights. Here’s the thing, though: they’ve grown on me over the last nine months, and while I don’t find their aesthetics a problem, there is one thing about them that I hate.
That is, of course, the sun-damaged, yellowed lenses and the 20-year-old weak-ass projectors. Seriously, my bi-xenon headlights are functionally useless at night with light output that would be put to shame by a night light.
The 996 isn’t alone in having its headlights look terrible after years in the sun, but it does seem especially likely to get hazed and yellowed really badly and with shocking rapidity. Being a responsible (and somewhat anal-retentive) owner, I decided that I would refinish them this weekend.
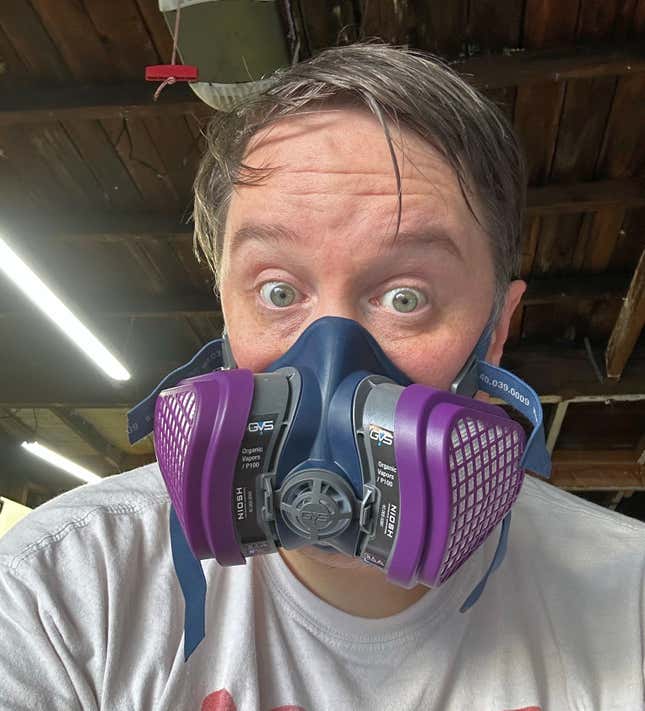
Note that I said refinish, not restore. We’re going to the big leagues here, friends. I’m not using the headlight restore kits you find at the auto parts store. Instead, I’m using things like sandpaper, degreaser and paint that will kill you unless you use a respirator. We’re going all-out because I’m lazy and only want to do this once.
So, the first step in this journey is research. I read a ton of forum posts and watched a bunch of YouTube videos which convinced me that short of buying new headlights (not gonna happen, by the way), the most permanent or at least permanent-adjacent way of refinishing faded lights was to sand the lenses down and use a two-part (aka 2K) automotive-grade clearcoat on them (this is different than the regular Rustoleum rattle can clear you buy at the hardware store; that won’t work here). This all sounded pretty intimidating until I found this video from the YouTube channel Paint Society.
It taught me a few things. First, I had no idea that K grits were even a thing and that they could be way more effective than your typical P grits. Next, it showed me that this didn’t have to take hours of labor and that getting a professional crystal-clear finish really involved two sanding steps — first with K360 and then K-800 — which sounded pretty easy. It also showed me that using a 2K clear in a spray can would work perfectly well for this job.
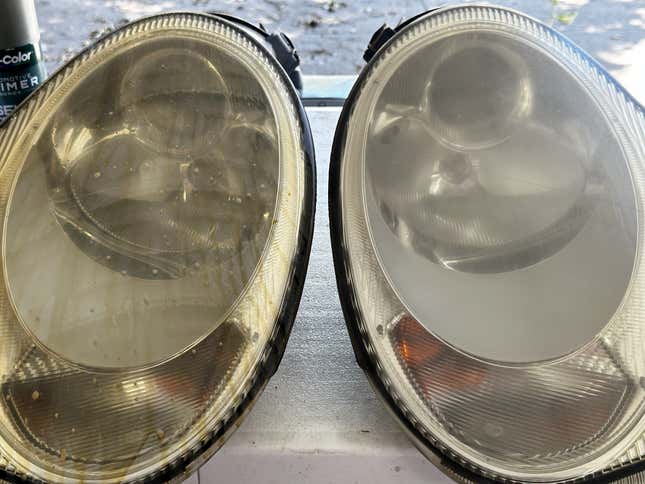
Buying all the stuff cost me around $100 in the end, and for that money, I got a can of Spraymax 2K Clearcoat in high gloss, one job pack of K grit sandpaper from Eagle Abrasives, some tack cloth, some wax and grease remover, a respirator that filters organic vapors and a bottle of Castrol SuperClean. I already had stuff like gloves, safety glasses, glass cleaner and microfiber towels.
To start things off, I removed the lights from the 996. If you didn’t know, this is basically the easiest thing ever and takes less than five minutes for both sides. I brought them to my work table in the garage and hit the visually clean lenses with the Castrol. What came off of them looked like coffee. It was wild. This step not only cleaned the lenses but also got some of the yellowing out. I followed this up with glass cleaner and wiped down the housings too.
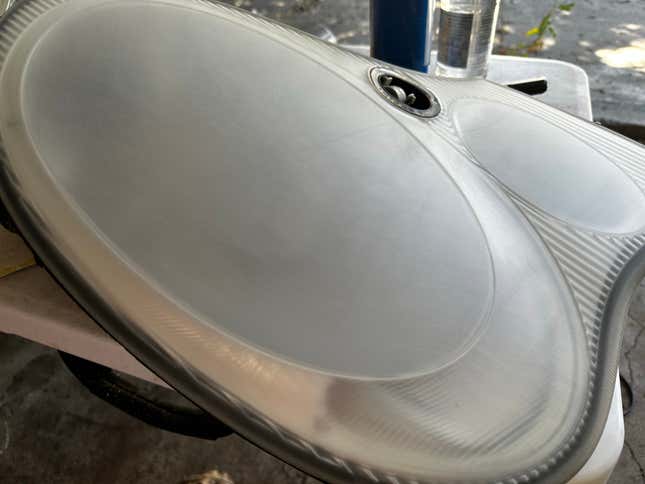
Sanding came next. I started with the K360 grit to remove the oxidized and sun-damaged factory finish and the top layer of plastic. This went pretty fast because the K360 cuts like a P240 grit but leaves the finish of a P360. Once I had done both lights so the finish was uniform — with plenty of wipes with glass cleaner and a microfiber towel to see how I was doing — I swapped to the K800. This cuts like a P600 grit paper but finishes like an 800 grit. I worked the lights with this until the deeper scratches from the first round of sanding were gone. In total, this took approximately 45 minutes for both lights.
After sanding, I gave the lights another good cleaning with glass cleaner, followed by wax and grease remover. I then ran a tack cloth (like cheesecloth but mildly sticky to grab dust and debris) over the lenses before breaking the seal on my 2K clear, shaking for three or four minutes and starting the painting process.
As Brian said in the video, I hit the lights initially with a relatively light coat first, waited a little less than five minutes (it was in the 90s in my garage this weekend), and followed it up with two more slightly heavier coats. At first, I was not that stoked with how it came out, but after leaving it for a couple of hours to dry, I checked on them, and the lights looked like this:
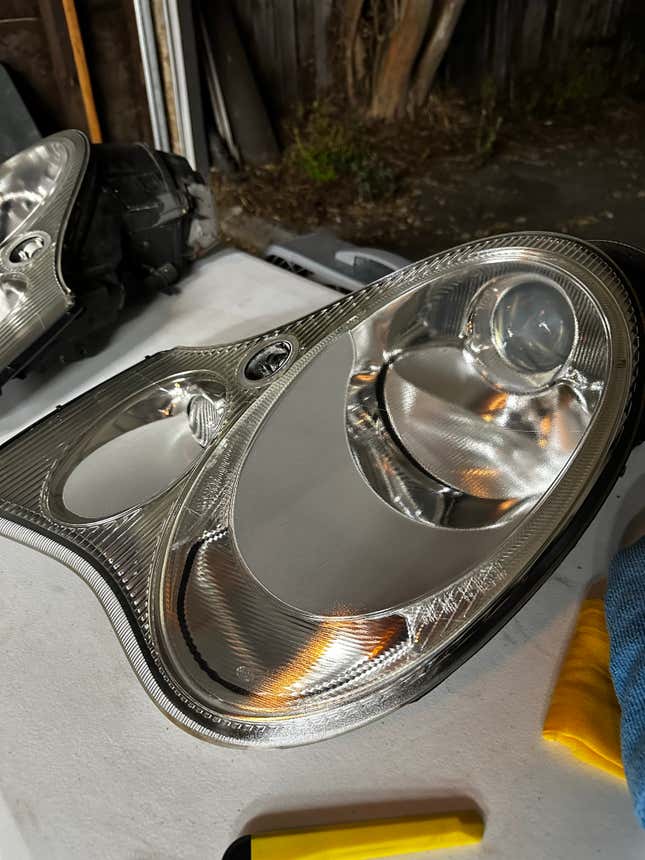
I finished by swapping the old, tired fog light bulbs for some new selective yellow bulbs and tossed them back in the car. The result is pretty incredible. They look practically new, with a couple of small exceptions. First, there’s some minor orange peel on the lights from the painting. This I can fix by wet sanding with some super fine 1000-plus grit once the paint is fully cured and then polishing the lights with compound and a buffer.
The second is the projectors in my headlights. I’m sure they were great in 2003, but 20 years of use have taken their toll, and projector design has come a long way since then. My next step with the lights will be to upgrade the projectors with a kit from The Retrofit Source, which I just ordered and will perform next month.
Ultimately, this job was way easier and faster than I anticipated, especially considering the borderline unreasonable satisfaction levels I got with the result. This is definitely something you should do if your headlights look like crap because if I can pull it off, you definitely can.
